Growing Young Ginger @ Home

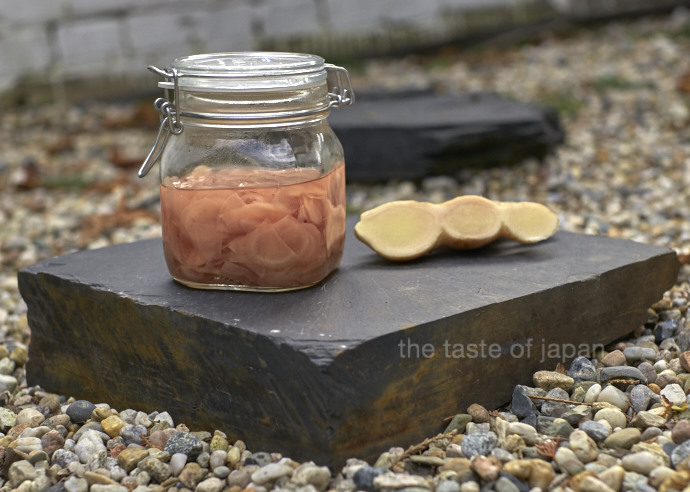
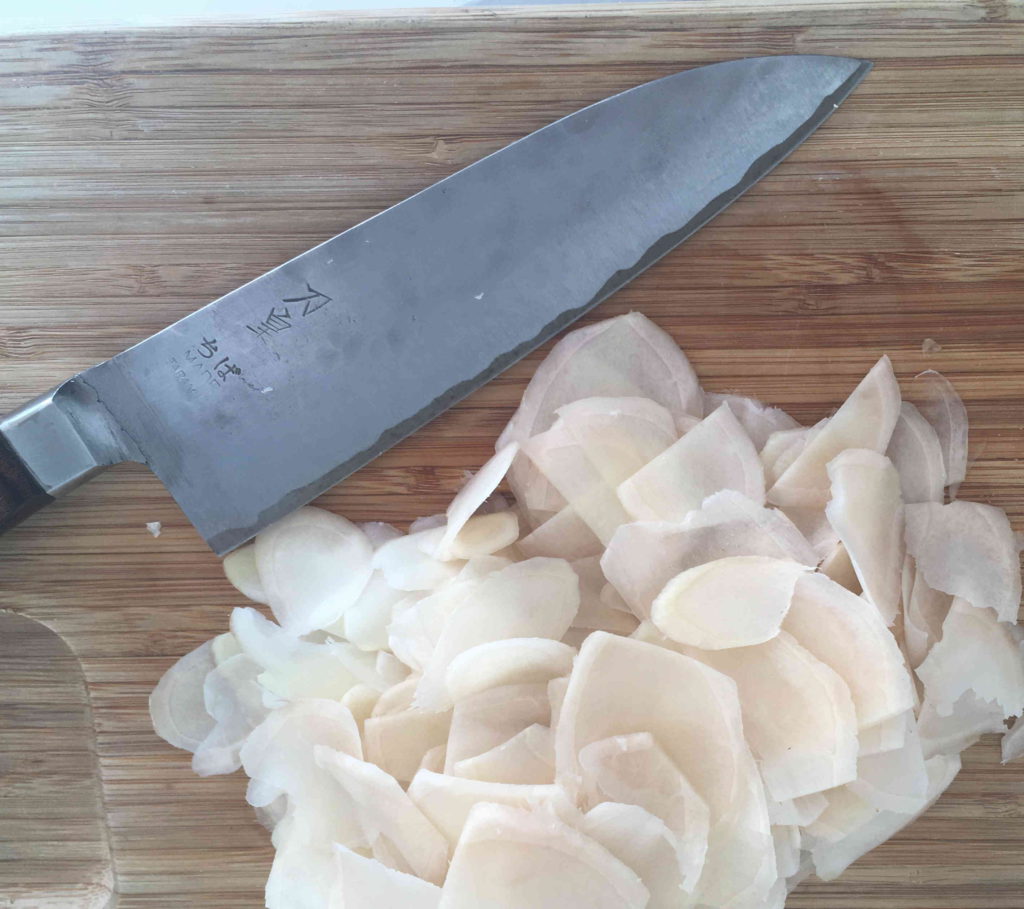
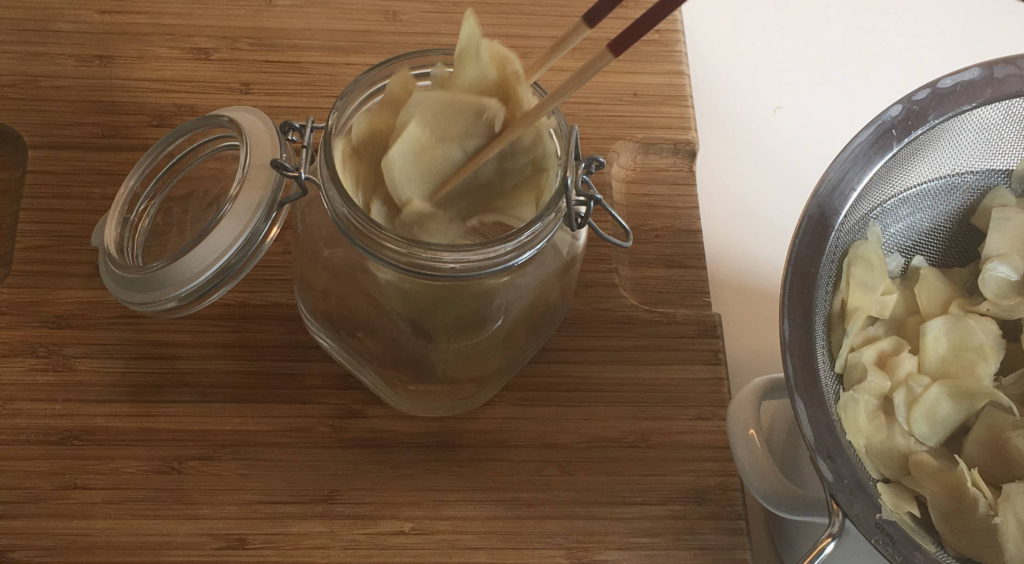
Oh, I do not like January. I never did. Somehow I adore the cozy cold days until New Years, but right afterwards I get all excited on those rare moments of warm January-sunrays that foster the seeds of spring feeling and make me go out to buy tulips for our home. Often though by the time I get home though the world around me is again cloudy and cold. But anyway – I still have a small glimpse of spring for you today. A restless little piece of ginger reminded me that it is a good time to start to grow your own – at least when you live in a colder climate. Young ginger has many wonderful uses and here you find how to make your own pickled ginger. Ginger is absolutely easy to grow at home, so in order to get a good crop this fall start now and you are all set.

How to Grow Ginger at Home

To grow ginger yourself all you need is a bit of patience and space for the plants later on.

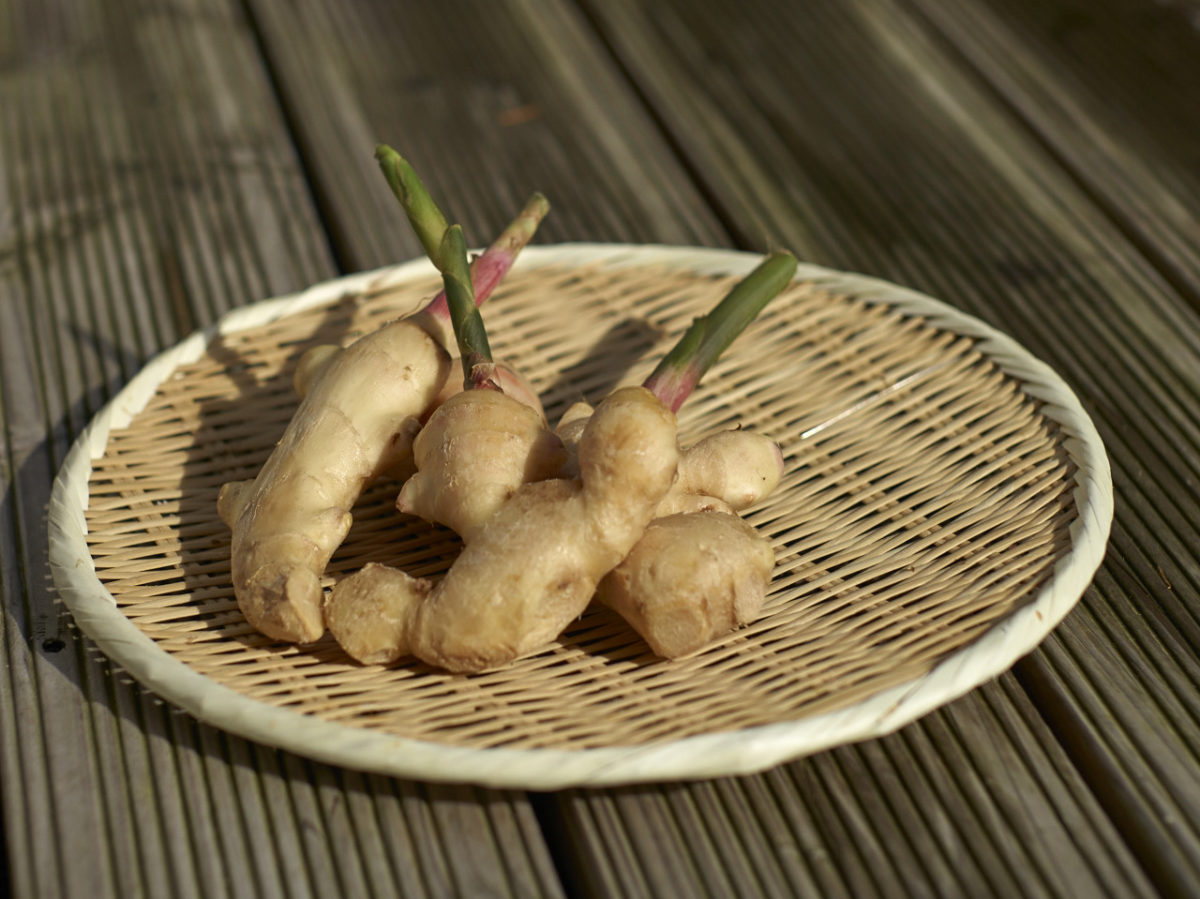
Take some oft the ginger you can buy at the supermarket. You see some kind of ‚eyes’ on the root. Cut them off and put them in a bowl with a tiny bit of water. You only need the bottom to be covered slightly (too much water causes the ginger to mold). Cover the bowl loosely (not airtight) with clear plastic, put it on a windowsill and wait. About every two days check the water level and adjust if necessary.

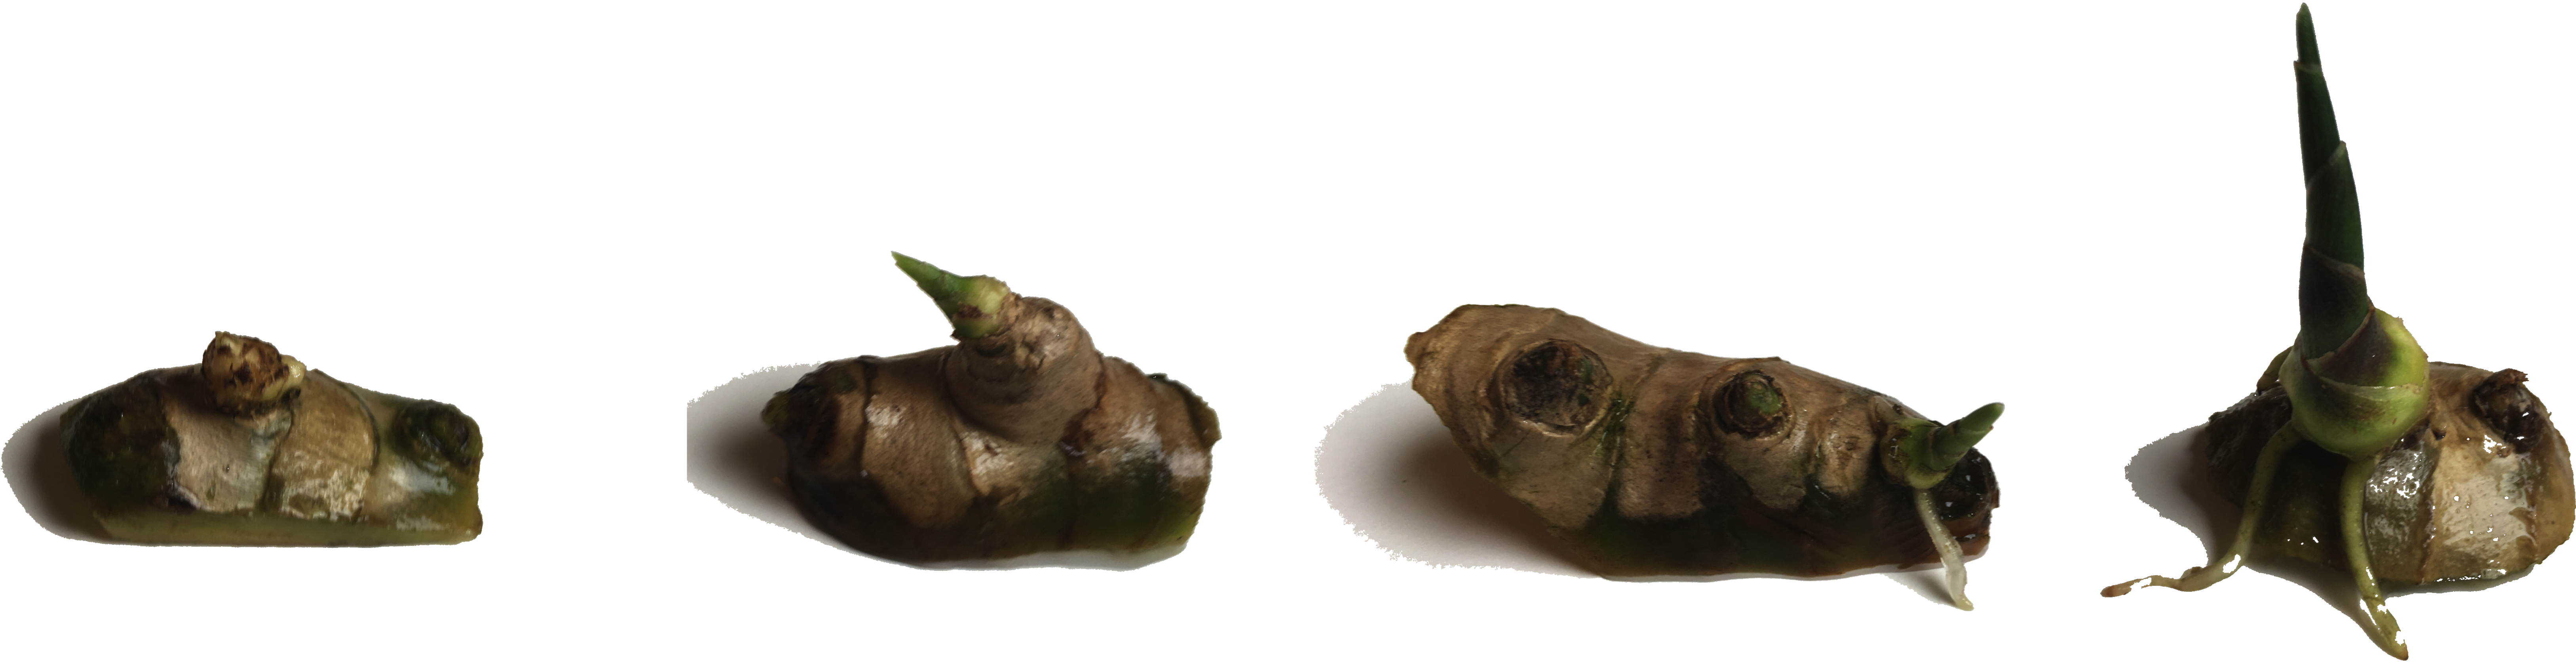
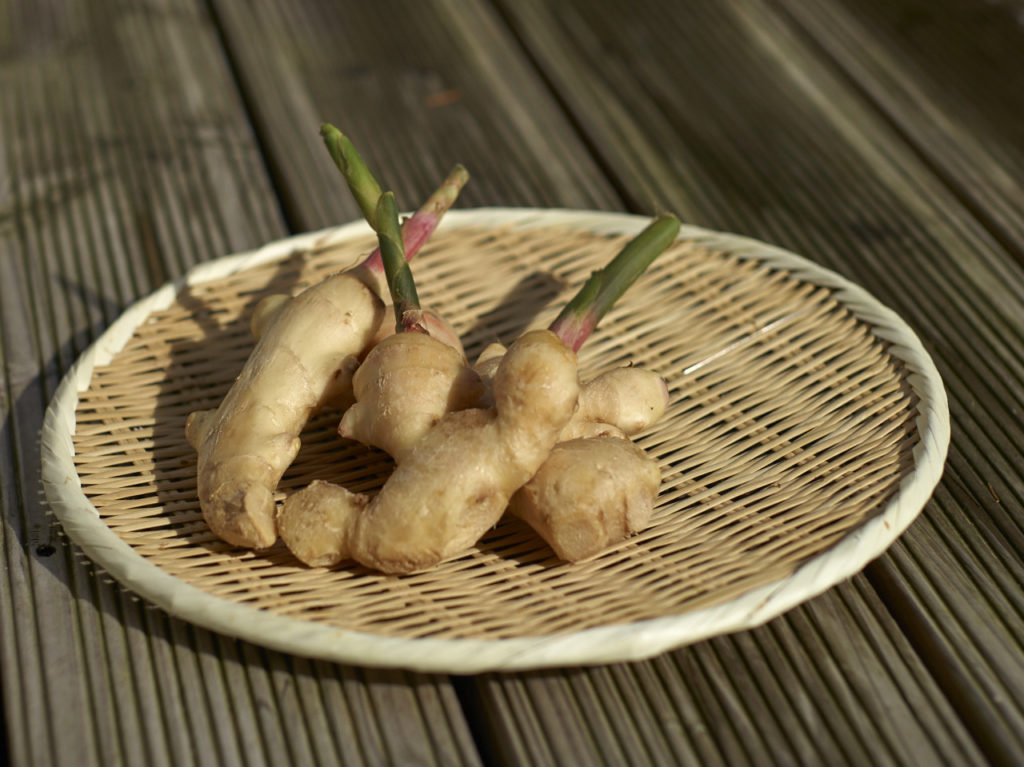
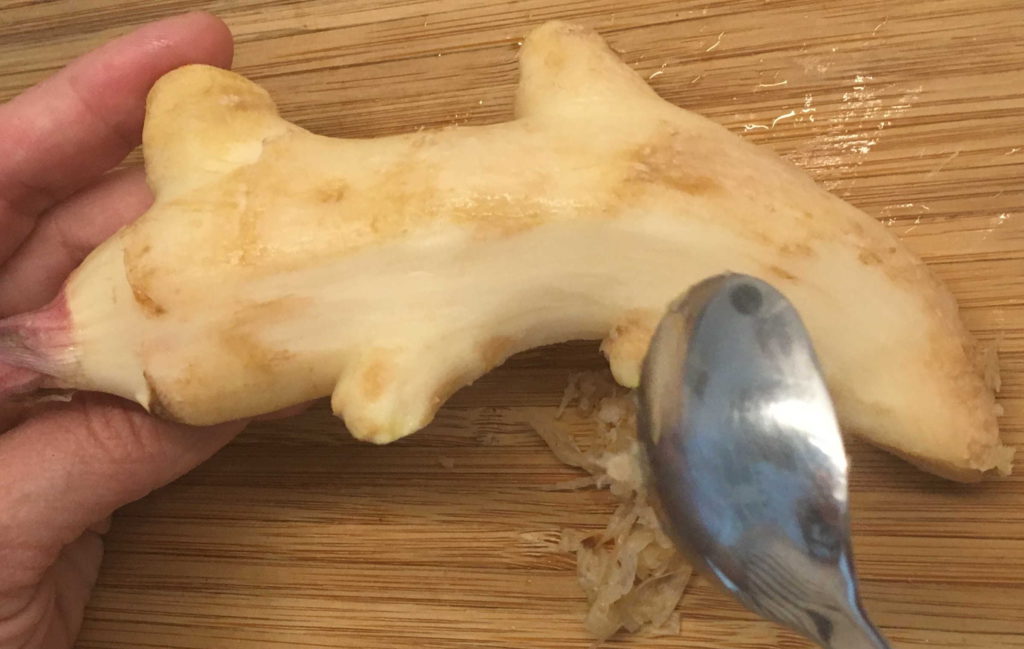
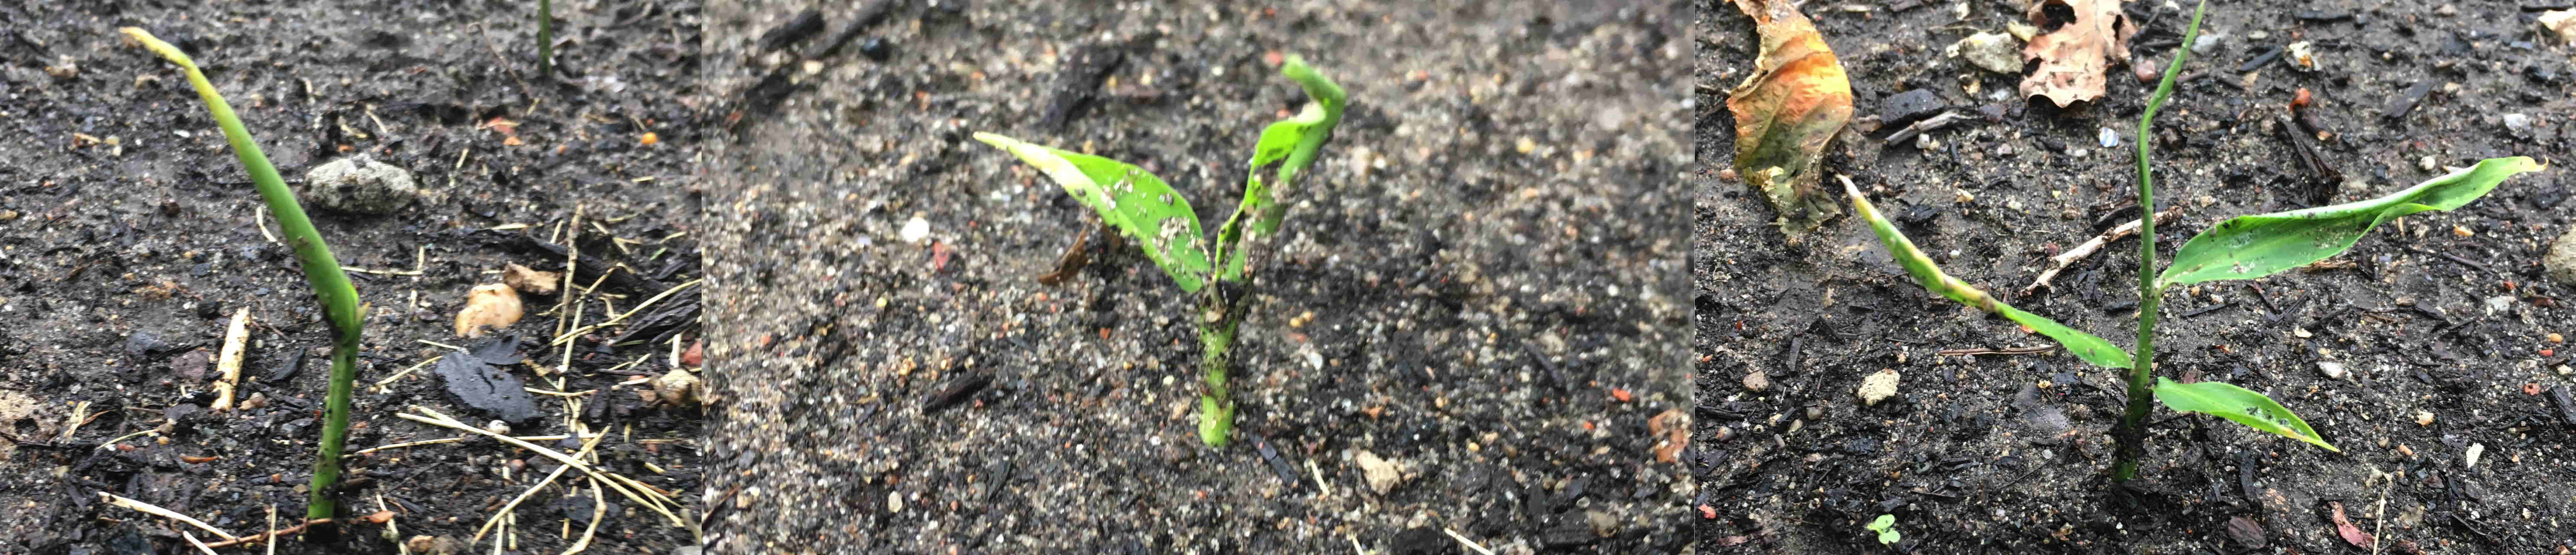
After a couple of days you can see the color oft he eyes turning brighter. Some even change to light green. After one or two weeks you can see air roots developing from the little ginger tranche that will keep on growing towards the water on the bottom. The stem usually start to develop in week three to four. I keep them in the bowl until the stem is about 4-6 cm. After that I would plant it in soil, but still keep it inside (given our local temperatures in early spring) until it gets warm enough. To grow ginger in Europe it takes a good eight to ten months to develop nice young roots big enough to be consumed. So this is usually in late fall when the leaves turn color. You can eat the roots right away or dry them to get more mature ginger like you would in the supermarket.

I know that I have not been posting a lot lately, but if you still don#t want to miss out on news, subscribe to the newletter.


Gari: Blushing Ginger

Once in a while I need to refill my Japanese pantry and as such I went to my local Asian grocery store. Contrary to the popular belief you don’t need many things for Japanese cooking. Shoyu (soy sauce), sake, mirin (sweet sake), rice vinegar, kombu (seaweed) and if you are not vegan katsuo bushi (bonito flakes) are a good choice.

I don’t buy any convenience products. No teriyaki sauce, no ponzu sauce, instant dashi or similar products. As making them yourself only takes a few minutes, no need to spend the money, but more than that a glimpse on the list of ingredients makes me shiver. They are usually full of additives, flavor enhancer and coloring.

Gari (pickled ginger) or Shin-shoga no Amazu-zuké , that you probably know as a side dish to sushi is no exception. Sushi is so popular that more and more people make it at home, but most of them buy pre-made gari, even though making it is fast, easy and cheap.

All you need for Gari is Young Ginger

In making gari there is one thing mandatory: Young ginger. Young ginger has a mild ginger flavor, is juicier and the flesh is tender compared to matured ginger. The skin is paper-thin and can be scraped off instead of cutting. Young ginger is often sold with parts of the stem that has a red ‘neck’ between the dark green stem and the light yellow root. The season for young ginger in Thailand just started and I already saw the first ones being sold last week.

How does Ginger turn pink?

Gari is available in both colors: yellow and pink. Both types are made with young ginger. The blushing pink develops naturally, if:

  1. The young ginger contains enough red pigments, meaning enough red ‘necks attached to the root AND
  2. Either the ginger or the amazu (sweet and sour sauce) is hot when they are combined to activate the pigmentation

Recipe for 1 jar Gari

350 g   young ginger
1          clean glass jar

Amazu (sweet-sour sauce):
– 500ml    rice vinegar
– 7 Tbsp.   caster sugar
– ½ tsp.   salt
– ca. 5×10 cm   kombu (dried seeweed)

Method

Amazu

Combine rice vinegar, caster sugar, salt and kombu and let them sit of a minimum of 30 minutes. The kombu will soften, give off its umami and melow the acidity of the rice vinegar. I like to use a non-reactivepan for that (lined with teflon or enamel) so that the vinegar and will not get a chance to react with the metal of the pan.

After the soaking heat on medium heat and stir until the sugar and the salt dissolved.

Preparation of the ginger

Scrape off the peel with a spoon or the back of a knife and cut the ginger in paper thin slices. Bring a pot with 1,5-2 l Water to a ruling boil and add the ginger. let it boil for 60 seconds after the water has come back to a boil before you strain it through a sieve.

Pickling the Ginger

Put the hot ginger immediately into the glass jar and fill it up with the amazu. Close the lid and let the ginger pickle in the fridge. If you have enough red pigmentation, the first signs of color will show after about 3-4 hours and the final result will be visible after about 48 hours.

The coloring will be a subtle, light pink. So don’t be disappointed if you don’t get that bright pink that you see in the supermarkets, which is the result of artificial coloring. The color by the way has no influence on the taste. So even if you have yellow gari it will be as tasty.