Truth to be told, our home is often chaotic. Our girls speed through our home and our life boosting with energy, laughter and all sorts of ideas. Naturally this is not just a recipe for love and understanding between the siblings, it also has quite a potential for conflicts… But when it comes to my question what they would like to have for dinner they shout out “rice” in perfect harmony. If they would get to choose they would always have rice, even for breakfast. No need for me to test the waters with ‘classic European kid’s dishes’ like Spaghetti with ‘red sauce’. None of our kids would touch them.
Gohan means rice and meal
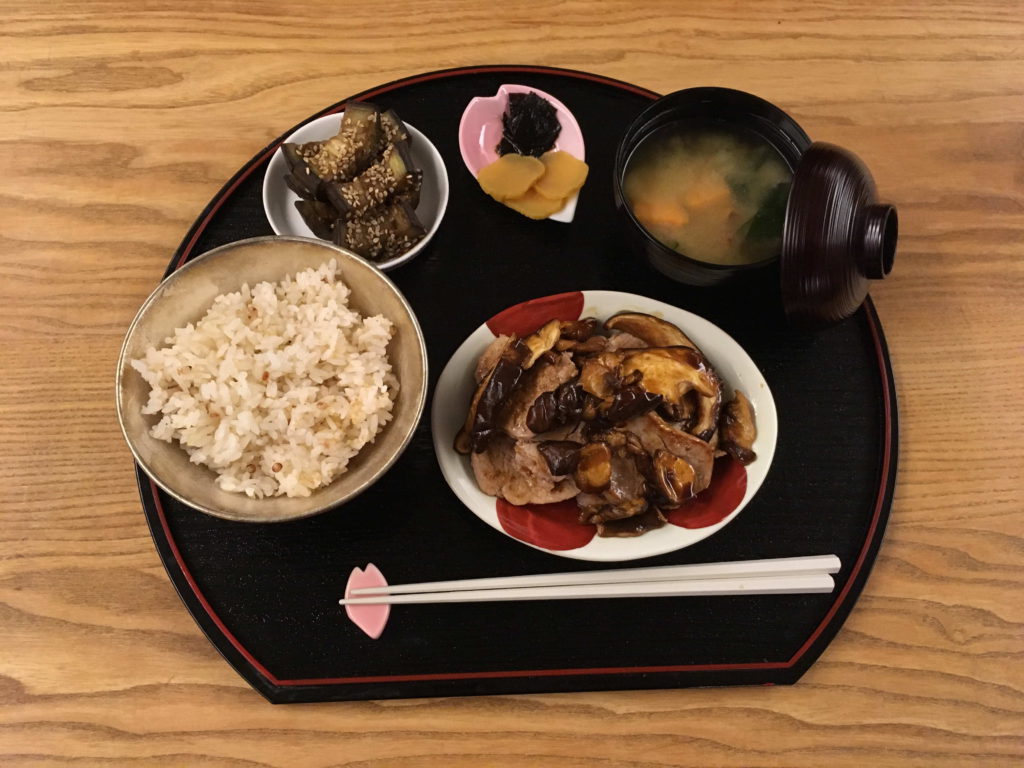
The taste of freshly cooked rice is truly delicious and I can think of no Japanese person who would disagree with that. But rice is not just a side dish. ‘Gohan’, the Japanese word for rice also means meal and as such it represents the significance of rice in Japan where it is always put onto the ‘place of honor’ (the lower left) in the traditional meal setting.
Onigiri instead of sandwich
Serving my girl’s preference for rice, they usually find Onigiri, also referred to as Omusubi, in their lunchbox. Onigiri are small pressed rice ‘balls’, typically in the shape of a triangle with different seasonings and fillings. Small, affordable and convenient to take with you as an instant, delicious way to satisfy your hunger.
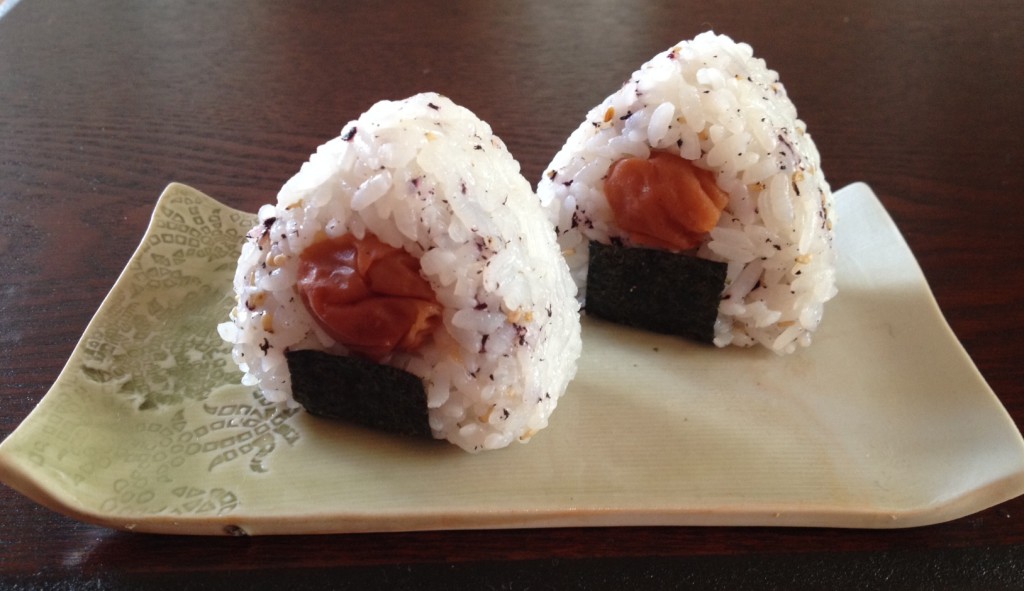
In Japan Onigiri are practically sold on each corner, whether in a convenience store or dedicated stalls. Like their Japanese peers, my girls were started on Onigiri as a baby, which probably explains their food preference. Outside of Japan there isn’t the luxury of getting an Onigiri on the way, but given that it is healthy, delicious and convenient, it is worthwhile making them yourself. But before we start with how to make Onigiri we have to start with how to cook proper rice.
Cooking Japanese Rice
Generally speaking you can cook rice on a stove or with a rice cooker. I know that I could go into more detail about the type of pots and the type of heat sources, but that would take me too far.
Using a rice cooker with a warmer feature has the advantage of cooking rice independent from when you need it. Wonderful fur busy people or late riser that don’t want to miss out on freshly cooked rice in the morning e.g. to make Onigiri. Not speaking of being a regular life saver for me in getting a meal on the table in less than 10 minutes (see recipe here).
Using a rice cooker is pretty straight forward, but for those who prefer a step-by-step guide for its use I recommend an article that Daniela from NipponInsider wrote on it (in German only). In that article she also took a closer look at the different technical features of today’s rice cookers, so if you consider buying one and can understand German, hop over and have a look.
As convenient as rice cookers are, rice can be cooked equally to perfection on a stove, which I will introduce to you in detail below.
Things worth knowing when cooking Japanese Rice
Independent from your method of preparation, when it comes to Japanese rice there are a few things to keep in mind:
- Wash the rice thoroughly
The objective is to remove any dirt, but even more the ‘nuka’ (rice bran) that would cause the rice to become mushy.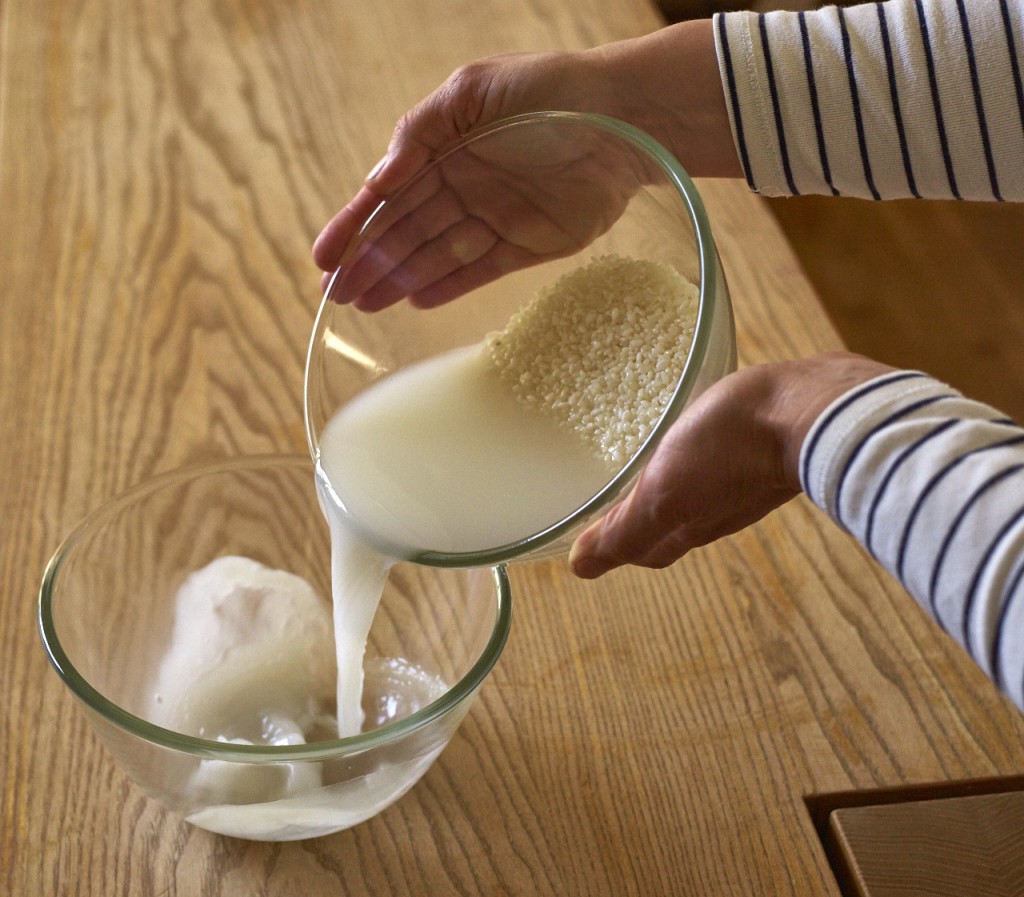
Japanese rice needs to be washed thoroughly before cooking. The starchy water is called togi jiru and has many culinary and non-culinary uses In order to do so wash the rice in a bowl with cold water, gently rubbing the grains against your palms or the side of the bowl. Change the water and wash again. Repeat until the water runs clear. Drain the rice in strainer.
The cloudy water that you get not just has a name (‘togi jiru’), it also has various culinary and non-culinary uses. Check them out here, before you throw it out. - Regulate humidity of the grains
Rice expands when absorbing water, but not uniformity.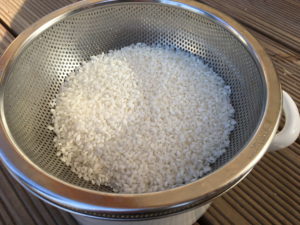
Let the rice sit for a while after washing to help regulate moisture content and avoid cracking Some parts of the grains absorb water faster than others and as such fast changes in humidity and temperature lead to cracked rice grains, which then would get mushy in the cooking process. To avoid cracks you should
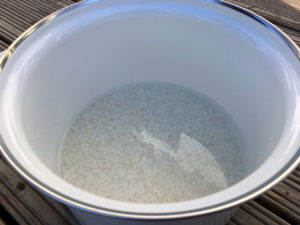
Soaking rice additional 10-15 minutes before cooking also prevents cracking a) let the rice sit in the strainer for about 30 Minutes after washing and afterwards
b) let the rice sit for another 10-15 Minutes in the water of the rice cooker or the pot before turning on the heat.
Recipe for 2 cups cooked Japanese Rice
Ingredients
- 1 cup (200ml) Japanese rice
- 220 ml Water
Method
An important matter upfront: Even though you might be tempted, do not lift the lid until the full cooking process is completed (I jut did it to get you the pictures)!!!
Place the washed and soaked rice with the water in a heavy (2-3l)-pot and 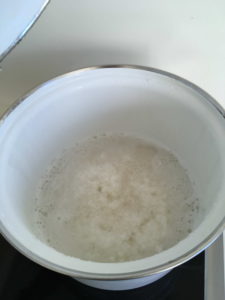 a closed lid on the stove and bring it to a boil on high heat. You can easily hear the water boiling and usually the lid starts to move as well.
Reduce the heat to medium and let the rice absorb the water completely. This takes about 5 minutes and even though you might think that this is hard to notice without peaking into the pot, rely on your ears. You will hear a fizzling sound that indicates the full absorbance. 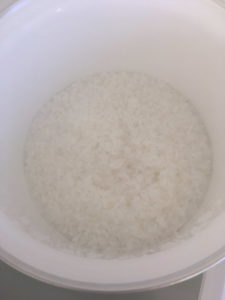 Now put your rice again on high heat, but only for a moment (about 30 seconds), before you take it off the stove and have it self-steam for another 10 to 15 minutes. Do not omit the self-steaming. It is important for the texture.
Fluff your rice with a shamoji (Japanese Rice paddle), serve and enjoy! And as we are all set now to start with how to make Onigiri, subscribe to our newsletter to make sure not to miss a recipe.
