Miso Soup: The difference between good and great

Last week I wrote about the beauty of a steaming bowl of miso soup, but realized that I haven’t given you a recipe for miso soup yet. The good news is that you are already 90% there if you know how to make good dashi. The basic stock that is heart and soul of Japanese cuisine. Good dashi is important and if you ever wondered why your miso soup didn’t taste great in the past, dashi is the first thing I advise you to look at. Even though making dashi is easy and fast, there are few tips and tricks you want to be aware of to take it from good to great. Take a moment to look at the recipe and the instructions here, in case you haven’t had a chance to read it yet.
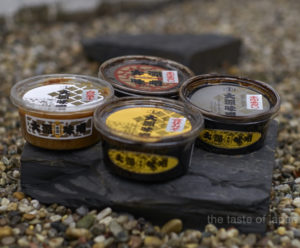
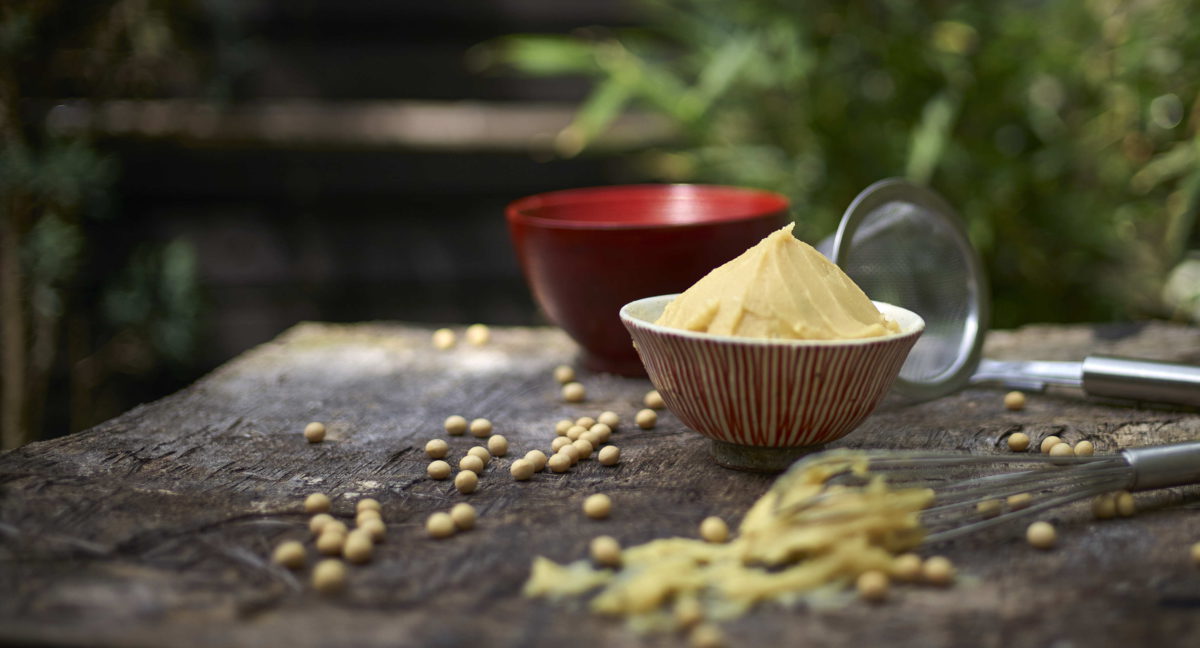
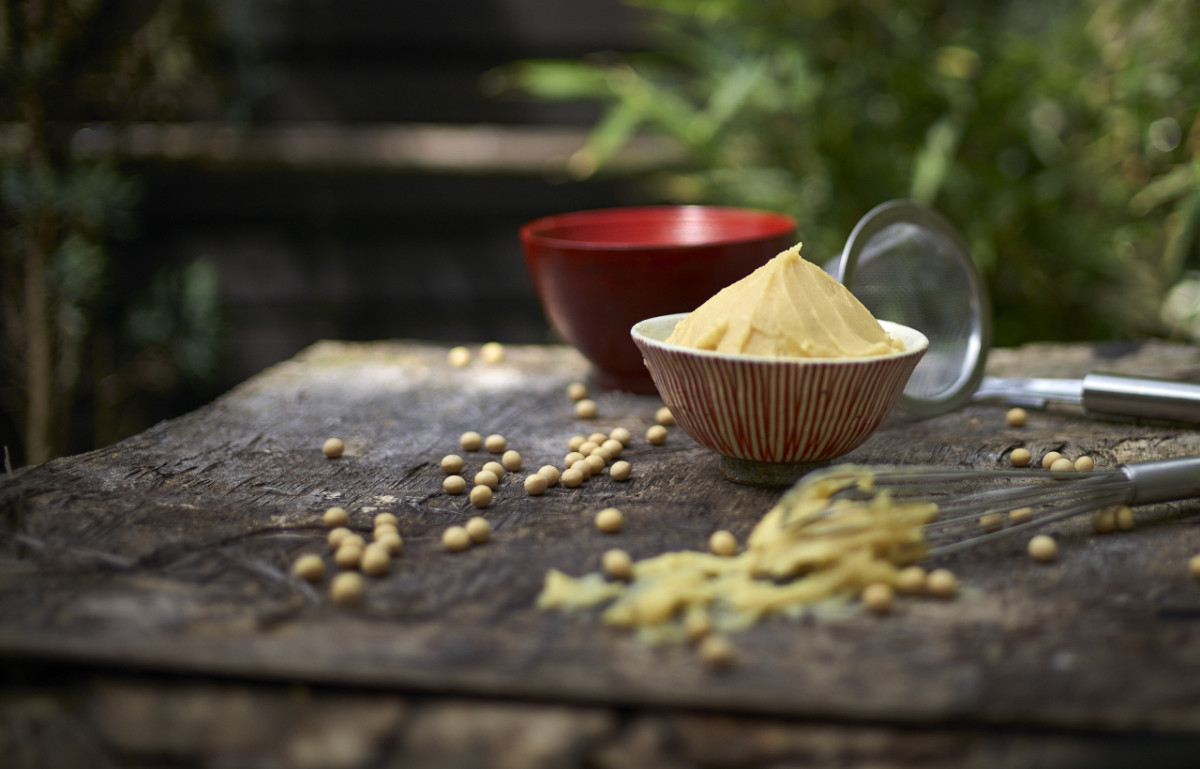
Some of my favorite miso from Osaka

The basic miso soup, also called misoshiru, is made from two ingredients: dashi and miso. And you can add whatever you like or have in your fridge/pantry (see below for ideas). No other seasonings necessary, especially no additives and certainly no MSG ((monosodium glutamate) or other flavor enhancer! So if you have used miso soup or instant dashi in the past you are in for a treat.

Not convinced because Katsuo Bushi (bonito flakes) are relatively expensive outside of Japan? Your are right, the prices that I have seen were quite high, but this wouldn’t be an article from me if I wouldn’t point out that nothing goes to waste in the Japanese kitchen. And as such both, the Kombu and the Katsuo Bushi can be reused to make other dishes, which makes the price more bearable. In fact I made Furikake (a seasoning for rice) and Tskudani (a relish) just this week and this time I remembered to take pictures, so you will get the recipes soon on this blog. If you haven’t already, subscribe to the weekly newsletter and you won’t miss them.

In contrast to eating Japanese food at room temperature, miso soup is always served piping hot, so it is the last thing that you prepare for your meal. But don’t be tempted to prepare miso soup ahead of time and quickly bring it to a boil just before you are ready to eat. You would destroy not only the flavor but also the nutrients. You can and should make the dashi, ahead of time and you can pre-cook the vegetables in it early on as well, but the key to good miso soup is to add the miso at the very end, and don’t let it come to a boil after that.

Ingredients for 1 miso soup (ca. 250 ml)

  • 250 ml         Dashi
  • 1 EL             Miso
  • extra ingredients, cut into bite size pieces

Method

Miso varies widely in consistency, flavor and saltiness. Especially the salt level is what you should be aware of when making your miso soup. The worst thing you can do is to add too much in the beginning. The general rule of thumb is about 1 El per ¼ l (250 ml) dashi, but with a very salty red miso you might need less.
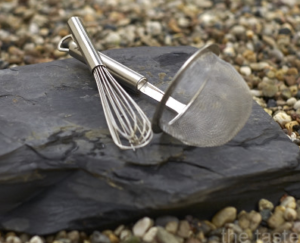
My miso koshi with a whisk

Heat up the dashi, and simmer any hard ingredients, such as potatoes or carrots. Add the softer ingredients that only need a short cooking time like e.g. tofu just before (ca. 1 min) the hard ingredients are tender. Take the dashi, from the heat to add the miso to the soup.

While the dashi, heats up add the ingredients into the soup bowls that don’t need extra cooking time, but will be refined through the retained heat of the soup (e.g. reconstituted wakame seaweed).

Final Dish
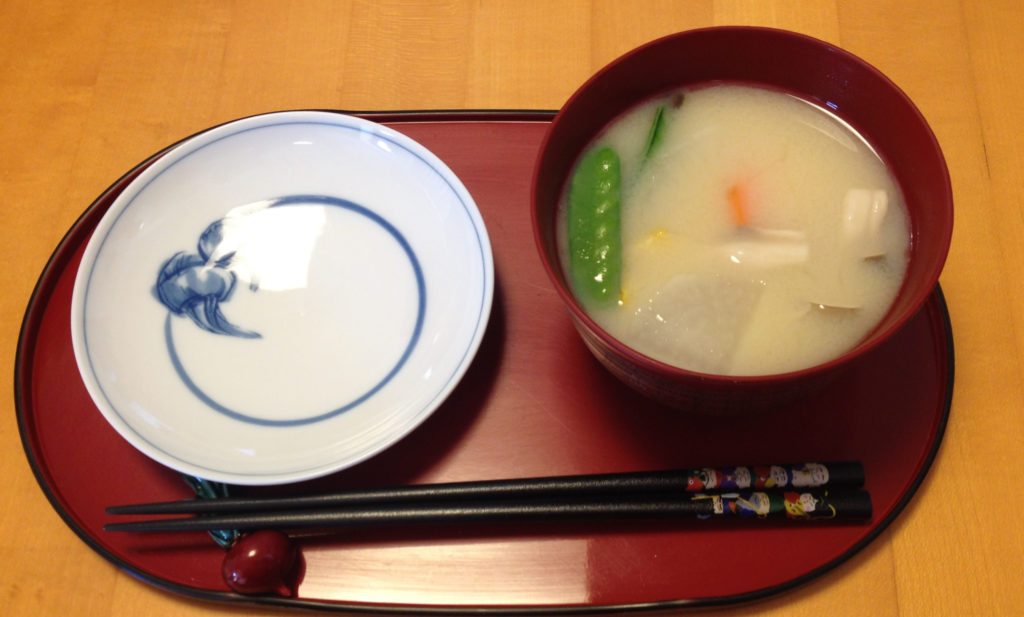
Final miso soup with wakame, turnip, carrot and chives

Add the miso when you are ready to serve the soup. There are two common ways to do that. One is to mix the miso with a bit of the hot dashi, in a ladle or bowl until the miso is dissolved and stir it into the soup afterwards. I prefer to use a miso koshi (a fine, deep strainer with a long handle) and an ordinary whisk. I take out the miso from the pack with a clean whisk and mix it directly into the soup through the miso koshi. Both ways avoid lumps in the soup. Ladle the soup in the bowls and serve immediately.

Ideas for Ingredients according to their cooking time*

Directly into the soup bowl

Short cooking time

Long cooking time

Reconstituted wakame Fresh Tofu Potatoes, sweet potatoes
Tops of enoki mushrooms Stems of enoki mushrooms Fresh shiitake mushrooms
Chives Green onion Leek
Mitsuba, young celery greens Snow peas Green beans

*The exact cooking time varies according to the size of the cut vegetable.

Five Points to remember:

  1. Take good dashi
  2. Add the ingredients to the dashi, or soup bowl according to their cooking time
  3. Remember that each miso has a different salt level and start with less miso than you think is necessary
  4. Dissolve the miso before putting it into the soup or use a miso koshi
  5. Never let miso soup boil after adding the miso and serve it immediately

What can you do with old Miso?

A steaming bowl of miso soup – for the most Japanese a piece of home and the essence of nourishment. A steaming bowl of evoking memories of childhood, family and tradition. It is likely that the number of ‘traditional’ miso soups equals the number of families in Japan and every sip of that soup functions like a time machine back into mom’s kitchen. So the ‘traditional’ miso soup is not only a nutritional powerhouse, but also full to the brim with taste and emotional memories.

A colourful bowl of miso soup

Miso is one of the two major elements in miso soup, but it is certainly not the only use for this super food. Miso is an essential staple in the Japanese diet and is widely used in preparing dips and sauces, marinades (take a look here for a recipe) or in pickling and it also lends its flavor to wonderful deserts. Even though miso is so versatile, it happens that a pack is sitting in the fridge longer than aroma-wise beneficial (yes, you should keep your miso in the fridge to slow down deterioration). So what to do which ‘old’ miso? Throw it out? Of course not, because nothing goes to waste in the Japanese kitchen!

Here and now is not the time and place for an extensive, scientific essay on miso that has filled hundreds of pages in various books (see the link to a free download below)*. But generally speaking miso is a fermented food product with the fermentation process itself having the potential to function as a natural preservative. Miso also contains quite an amount of salt that acts as a natural preservative. So all in all, miso can be kept for a long time. It will not go bad easily, but once opened it will loose its aroma rather quickly.  So when you tend to use more than one type of miso or don’t use miso on a daily basis you’ll be likely to end up with some miso sitting in your fridge longer than two weeks. For me personally two weeks is about the cut off date for the aroma, but that is personal preference. I do know people that consider four weeks to be ok for them. Test it and trust your taste to find out what works best for you.

Version 2
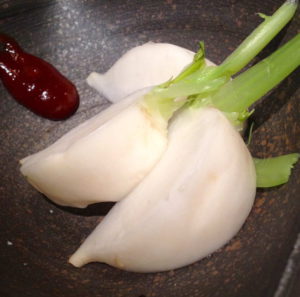
Pickled turnips with neri miso as a dip

Whenever you find your miso has become old, it is time to rejuvenate it. Add some aromas and some dashi to create a wonderful sauce that works as good as a dip for fresh vegetables (e.g. cucumber, celery) as it does as a scalloped topping on tofu or wheat gluten or even thinned with dashi as a sauce to pan-fried vegetables. Miso prepared this way is called neri miso and means ‘stirred miso’. It is usually made from red miso (aka miso), though i have successfully experimented with all kinds of miso. Today’s recipe is a basic version of this sauce. Stay tuned for more options how to further pimp neri miso with herbs and nuts in the coming weeks.

Ingredients for one jar (ca. 125 ml)

  • ca 100 g    red miso
  • 20-30 g     sugar
  • 30-50 ml   sake
  • 30-50 ml  water or (kombu) dashi

Method

Miso varies widely in consistency, flavor and saltiness, so the measurements for sake, sugar and water/dashi are guidelines only. When making neri miso start by using the lowest quantities and adjust consistency and taste to your liking, should it be necessary.

Version 2
Scalloped neri miso on fried tofu

Combine all the ingredients in a pot and mix them until they are blended well. If you have, use a deep pot, because the sauce tends to splatter. Reduce the sauce on medium heat, stirring constantly (!) until the consistency is creamy again. Don’t be tempted to reduce it too much, because neri miso will thicken in the cooling down process, so take this into consideration. Now is a good time to carefully (it is very hot!) taste your neri miso and adjust the flavor. Let the neri miso cool down and fill it in a clean and disinfected jar.

________________

* Tip:

  1. Add ginger juice while the neri miso cools down for a quick twist on the basic recipe
  2. If you want to dive deeper into the history, the science, nutrition of miso, you may be interested in the free pdf-download of the ‘Book of Miso’ by William Shurtleff & Akiko Aoyagi

Miso Madness: Marinated Fish

Today was one of those days. An overflowing to do list and whatever I started seemed not to end precisely where I wanted. Adding to the distraction that comes with a not-so-much-sleeping-anymore-baby my oldest one joined in, as she couldn’t go to school either. Those days would normally be destined for some take out food or home delivery. Normally. If take out wouldn’t take so much time to pick up, given that I have to take the entire kids-gang with me. If delivery services would make tasty food. If I would find a delivery service that has food for every taste and age. If I would find a delivery service that serves the food either super fast or in a reliable time frame to arm me for the witching hour when my girls transform to kidzillas. But so far I haven’t found one. And on those days I cannot afford to stir a pot on the stove while consoling one, two or three girls at the same time close to tears myself. On those days I need a kitchen lifesaver. Quick and easy soul food. Comforting, healthy and satisfying.

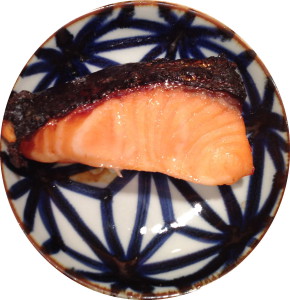
One of my all time favorites in this situation is succulent Saikyo Yaki (Miso-marinated grilled fish), served with a steaming bowl of freshly cooked rice and a savory miso soup. As usual, I have some fish in its marinade in my fridge waiting patiently for those days to come. Now all I need is a tiny bit of preparation to bring out the smiles again with a yummy dinner on the table in about 10 minutes elapsed time. How does that sound?

So whenever you have a moment during the day wash the rice, put it in the rice cooker and keep it warm until you need it. At the same time soak some kombu (kelp) in water and make dashi (basic stock) within a couple of minutes (see recipe here), putting you in the pole position to whip up a miso soup while the fish, that you just need to take out of the marinade, is broiling. That’s it.

Certainly no remedy against the witching hour, but a way to make your life easier in the heat of the moment. Admittedly, I almost always have some salmon marinated in miso sitting in my fridge. Just to be prepared. Also because it simply tastes wonderful and keeps for about five days in the marinade.  And even if I don’t have one of those days, I don’t mind a yummy and healthy dinner that only takes minutes to get on the table.

Saikyo Yaki

Ingredients

  • 4 pieces á 100g  Fish (e.g. Salmon, (Spanish) Makarel, Cod)
  • some saké (optional
  • Sarashi or cheesecloth, big enough to wrap the fish
  • Non-reactive vessel that holds the fish in a snug fit layer

Marinade  

  • 450-500g saikyo miso (sweet, light miso)
  • 80 ml Mirin
  • Zest of one yuzu, lemon or orange

Method

Rinse the fish under cold water and pat it dry. If you want to hedge your bets rinse the fish with sake and pat it dry. Mix the ingredients for the marinade and put half of it in a non-reactive vessel. Place the sarashi or cheesecloth (in a double layer) on top of the miso in the vessel, press down slightly and add the fish (snug fit). Enclose the fish with the remaining piece of sarashi/cheesecloth, put the second half of the marinade on top of it and close the lid or cover with a sheet of plastic wrap. Let the fish marinate at room temperature for a minimum of six hours or in the fridge for up to five days. The longer the fish marinates the firmer it will get and the more intense the salty-sweet miso flavor will become.

To cook the fish scrape off the marinade on top of the sarashi/cheesecloth (save the marinade for another use in a glass jar) and remove the fish from the container. Place the fish skin side down on a piece of aluminum foil and grill it for about three or four minutes (the skin will bubble and char a bit). Turn and grill for another 2-3 minutes. If you use a broiler start with the skin side up (to protect the fish against the heat). If you have neither use a pan and sear the fish slowly (skin side down first) on medium heat, being careful not to let it scorch. Remove the fish from the heat when being slightly crusty and golden on the outside and still juicy and succulent on the inside and serve it right away or at room temperature.

Stay tuned for more kitchen lifesafers and more Miso Madness recipes. Sign up for the newsletter and you will get them directly to your inbox.