Storing Water Kefir Crystals

So we are definitely hooked. Hooked on water kefir. A couple of days ago I bottled quite an amount to take on a family vacation trip, but it was gone within three days. Back home the first thing I did was starting a new batch. Four new batches to be precise. Being relatively new to water kefir I want to really understand it and as such I experimented with the way to store water kefir. Whether you are absent for a couple of days or want to have a break for a bit longer, it is good to know what works and how it will influence the end product.

How to store water kefir (for a long time)

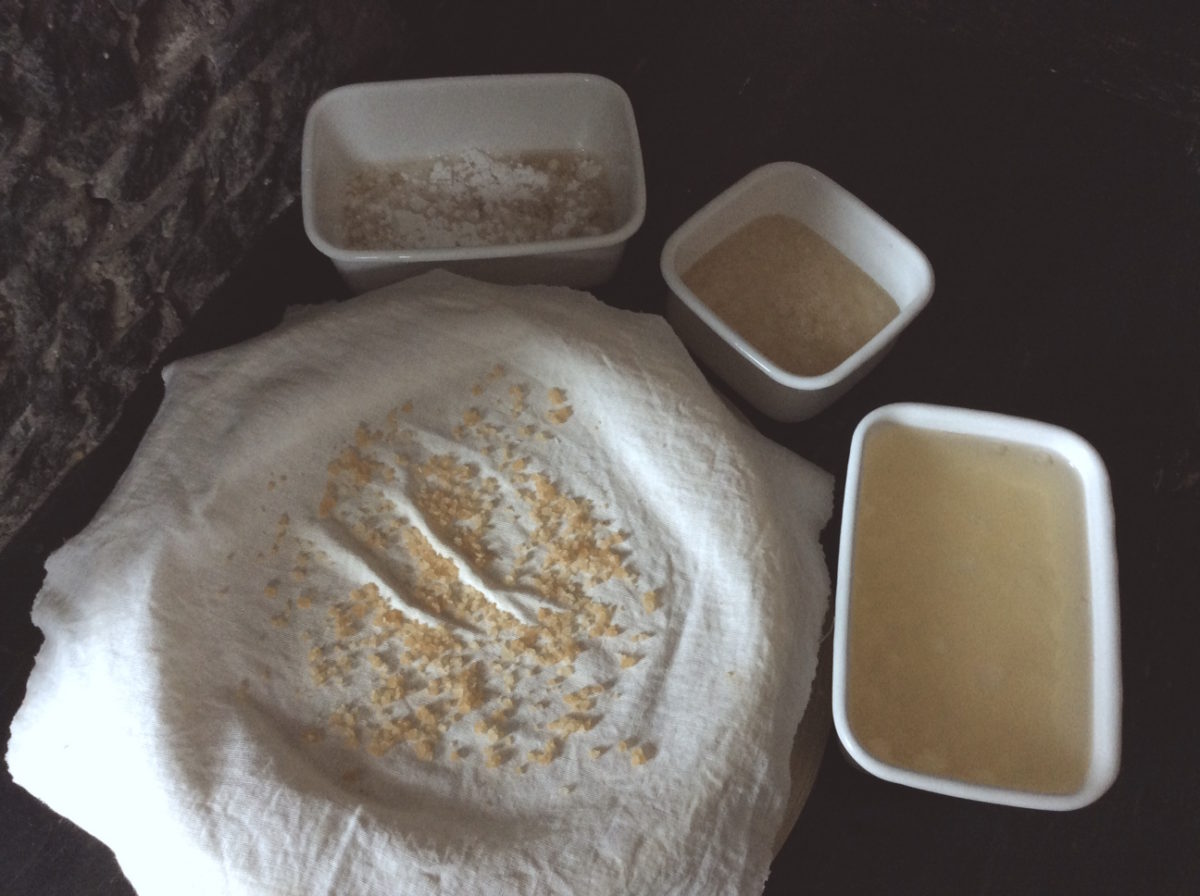
So before we went on vacation, I made 50g-portions of the water kefir crystals and stored them in four different ways:

Waterkefir crystals covered with icing sugar. The sugar will melt and form a syrupy brownish liquid
  1. Fridge:
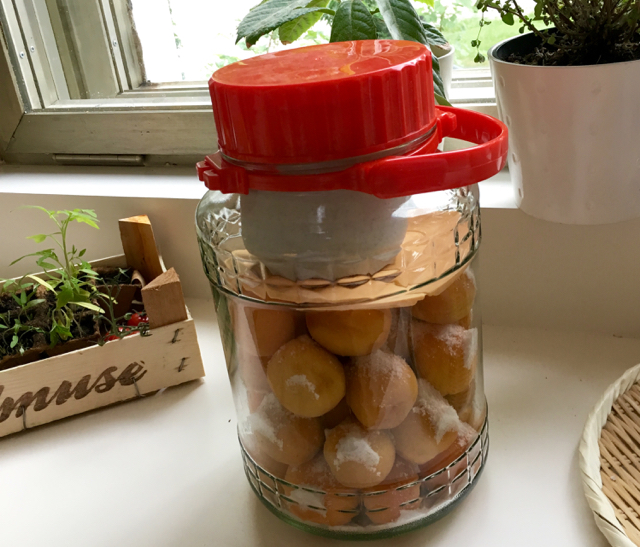
    Water kefir crystals floating in 10% sugar water in the fridge (in a loosely lidded non-reactive container),
  2. Fridge:
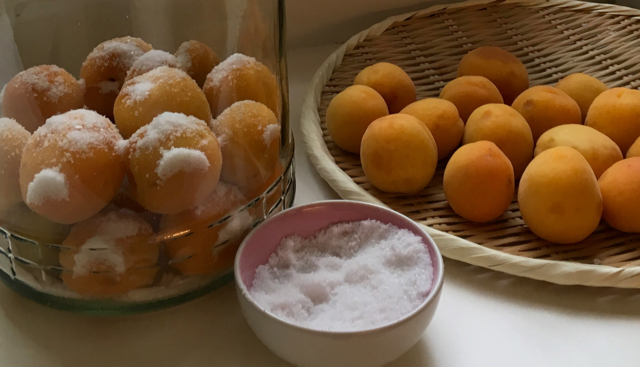
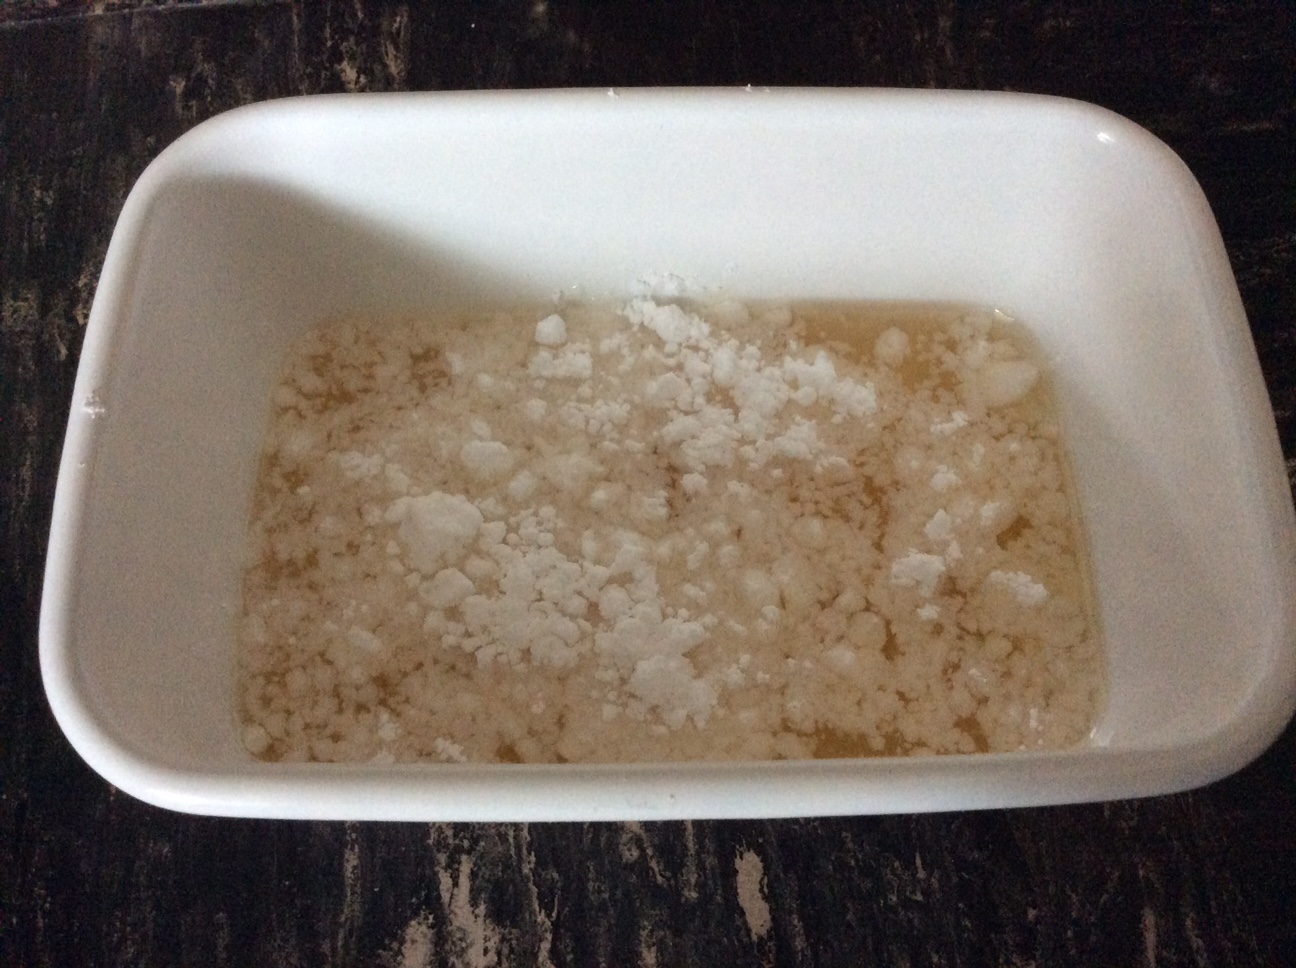
    Water kefir crystals covered with icing sugar (in a loosely lidded non-reactive container),
  3. Freezer:
    Freezing water kefir crystals, barely covered in 10% sugar water and
  4. Dryed:
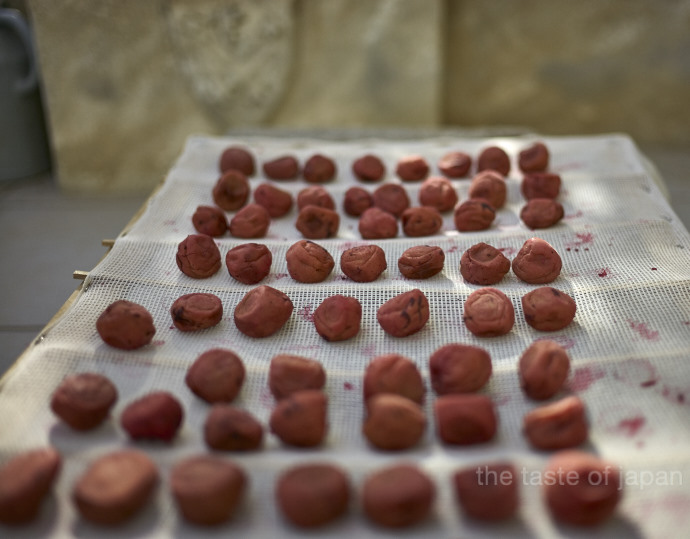
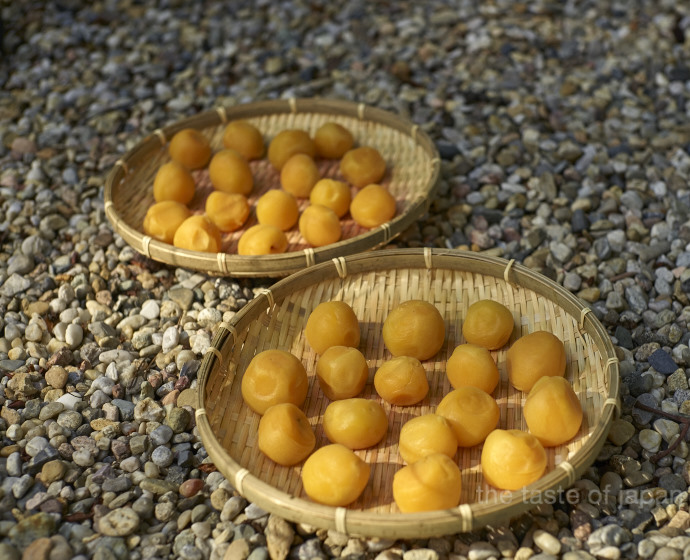
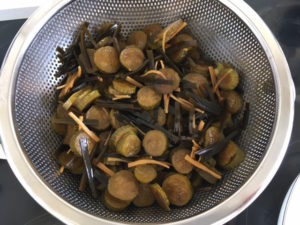
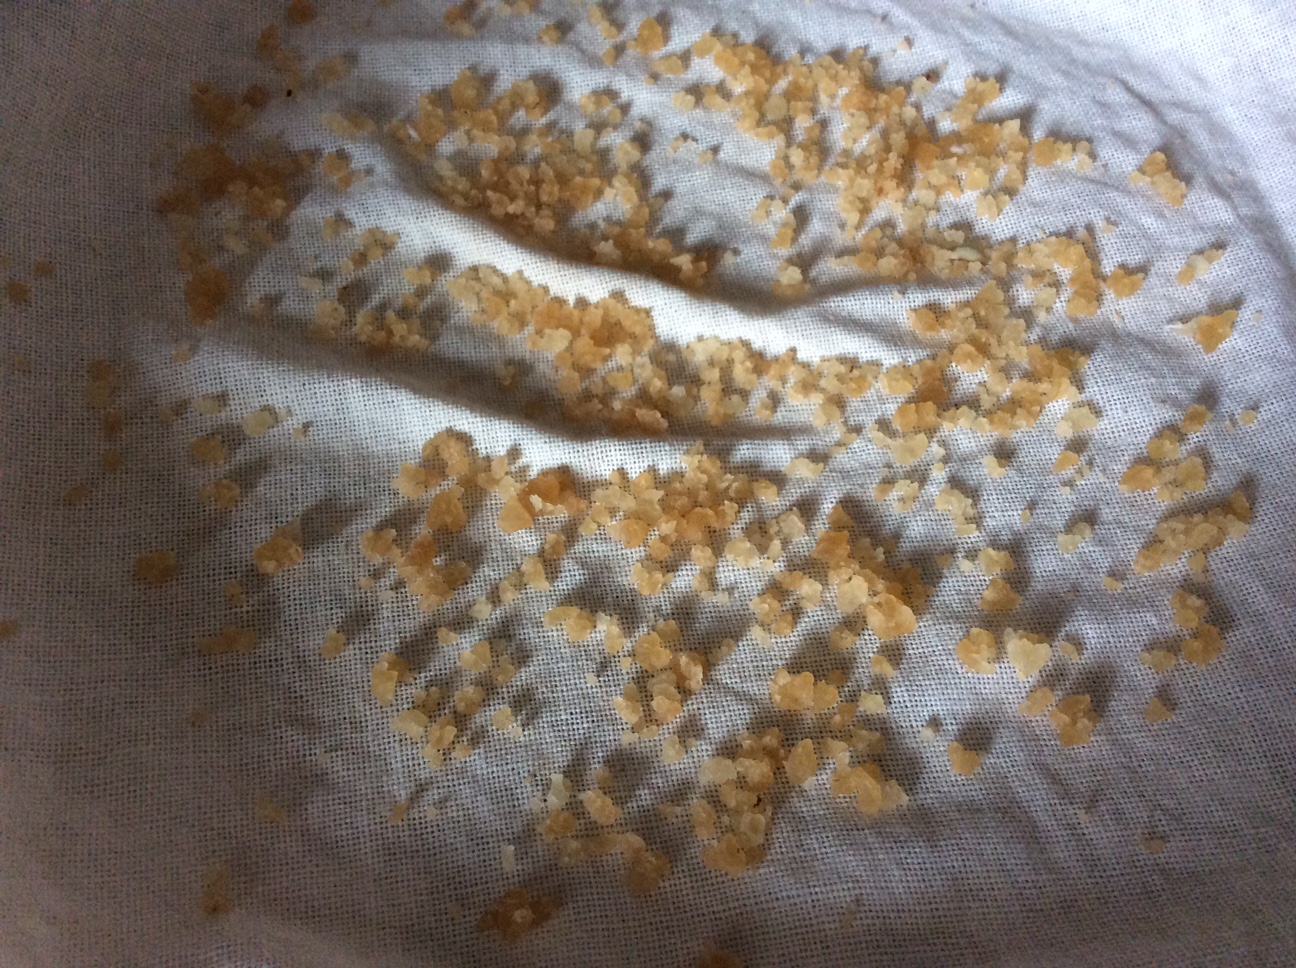
    Water kefir crystals laid out to dry on a of clean piece of cotton, stored well aerated at room temperature
Dried water kefir crystals shrink about 80% and chance from translucent to brown

How to Reconstitute water kefir

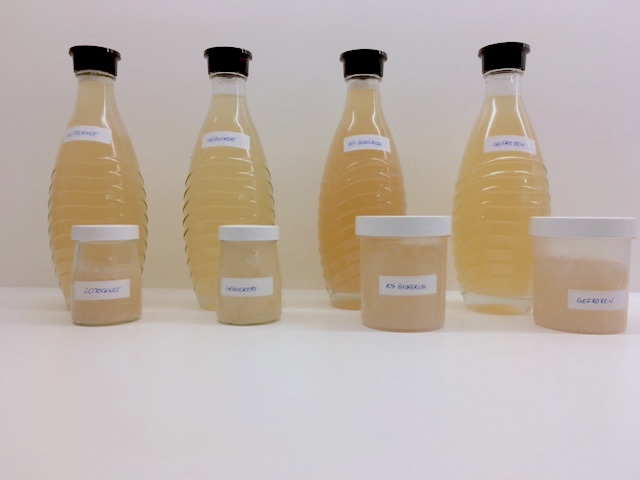
A couple of days ago I slowly defrosted my frozen water kefir crystals and prepared four identical jars to reconstitute the water kefir, hoping for yummy lemonade at the end. Each jar contains:

  1. One liter water
  2. 80g caster sugar
  3. two dried prunes
  4. one dried fig
  5. two slices organic lemon (with the peel)

After the first 12 hours all but the pre-frozen water kefir crystals showed -although significantly restrained -definite signs of fermenting activity: carbon dioxide is rising and the crystals seem to grow and split which is normal behavior during the fermentation. After 24 hours all four jars were happily fermenting and I could test the taste of their products after 48 hours:

After 48 hours all four jars were on their way.

10%Sugar Water Sugared Dried Frozen
Sweet/Sour Very sour Very sweet sweet pleasant
Bitter very bitter medium bitter medium
CO2 Very low low medium medium
Amount of crystals 119g 80g 44g 126g

Outcome

Resulting water kefir after storage. Difference in taste and color

Type and  Time of Storage

All four ways of preserving water kefir crystals were successful, in the way that all of the crystals survived and could be re-activated for further fermentation. I assume that storing water kefir crystals for a long time in sugar water in the fridge might be problematic. Even though the temperature reduces the activity, is still happens and as such at some point of time the yeast will rund out of food. So i would opt for drying or freezing the crystals if the storage is intended to last for several weeks or a couple of months.

Taste and Reconstitution

In favor of comparison I used 50g water kefir crystals for each way of storing. In the end my little experiment showed that the different ways of preserving the crystals have an impact on their return to a normal activity level:

  • Using the sugar water method has practically no impact on the activity. That is the reason why the lemonade turned out too sour and almost without CO2. The 50g that I put to storage were too much for the 1l sugar water I used for reconstitution.
  • The crystals that were sored in icing sugar took a little while to get back to normal fermentation mode and as a result the residual sugar in the lemonade was unpleasantly high. Given that the possible storage time is about the same as using sugar water I do not see an advantage using this method.
  • The dried water crystals didn’t propagate well compared to the initial amount. But given that the 50g reduced to 10 after being dried, the 44g are not too bad. A reduced fermentation activity seems logic with this drastic way of preservation and the result was satisfactory.
  • Freezing water crystals works well. Initially I thought that -18 C will ultimately kill the bacteria, but due to their very slow fermentation in the beginning the 50g/1l-water ratio resulted in a very good lemonade.

Summary

As a result all water kefir crystals have survived, but only the frozen ones produced a pleasant lemonade right afterwards, whereas the first batch of the other three methods had a difficult taste. The second batches however, with the right amounts (see recipe here), were indistinguishable.

  • Water kefir crystals can easily be stored long- and short term
  • The more drastic the method (freezing/drying vs. sugar water) the slower the re-entry into fermentation mode
  • The first lemonade will most likely not have a pleasant taste, but all methods have a normal taste after that.

Tsukémono: Umeboshi@ home

Their taste is new to most people in the West. Mouth-puckering sour, though pleasant, their saltiness is pronounced but acceptable and make a perfect match for many dishes. At our home umeboshi are often added to onigiri. Those hand pressed rice balls that for some miracle reason taste best if they are made by the hands of one who loves you.

Yukari Onigiri with umé boshi

These days it is easy to buy ready made umeboshi at Asian and organic supermarkets, but nothing beats them being home made. Getting umé, botanically prunus mume or Japanese apricots in Germany is not easy. Until our umé tree yields fruit I am using local apricots instead.

Layered apricots with salt in a glass container
Layer soaked, unbruised apricots with salt in a non-reactive container.

How umeboshi are made

Traditionally umeboshi are being pickled – often but not always with red shiso leaves – in Japan’s rainy season and are left to ferment in their own brine for about six weeks, before they get laid out and dry in the summer sun for three days.

Add weight and patience for the brine to develop and rise and fermentation to happen

What seems easy in Japan with its hot summers is a challenge in Germany. Even more so this year, where summer took a long time coming. But finally the weather forecast predicted a couple of hot days. Perfect timing for my ‘umeboshi’, that will get their finishing touch of summer sun.

Local apricots fermented umeboshi style
‘Umeboshi’ laid out to dry in the summer sun

Want to make umeboshi at home?

This years umeboshi pickling season is over, but if you want to join me in making umeboshi next time, sign up for the newsletter and I will guide you through it step-by-step.

Nuka zuké @ home: What is Nuka zuké?

“A bowl of rice with a small plate of pickles and some soup is not merely food, but cuisine…”

(Michael Ashkenazi, The Essence of Japanese Cuisine)

I remember a sunny early autumn day in Tokyo. The heat and cruel humidity of the summer was finally over when a bunch of people literally from around the world gathered in Elizabeth’s kitchen around a big dark brown earth ware pot, waiting for its secret to be unveiled. ‘Take a whiff ‘ was the invitation to carefully look and smell into the pot.

Turnips coming out of the nukadoko

But no hands, because hygiene is extremely important in keeping a nuka-pickle-pot healthy. Nukadoko (pickling bed) can be passed down for generations and as such the one in front of me was easily some 150+ years old. Given that nukadoko is a living organism that requires constant monitoring and attention, it doesn’t come on a surprise that Elizabeth is very cautious.

My nuka-pots carefully packed for the long trip down south

The only one allowed to touch Elizabeth’s nuka pot besides her is her neighbor that takes care of it whenever she is out of town for a long time. Sounds irritating in the beginning, but after having to throw out nuka-pickle-pots that had gone bad three times, I find myself being as careful and restrictive. I even take my nuka-pickle pot with me on vacation or weekend-trips. Is that absolutely necessary? No. There are ways to maintain your nuka-pickle-pot even though you are not around, but as I have Elizabeth’s 150+ years in mine , I am not going to take chances.

Nuka zuke in France
Making nuka zuke in my holiday home kitchen in Southern France last year

Nuka, Nukadoko and Nuka zuké: What’s the difference?

But before I go on, let me explain a few terms here, so that you don’t get confused:

  • Nuka is the Japanese term for rice bran. In Japan, nothing goes to waste and as such, the nuka that is left after polishing rice (e.g. for table rice, sake making etc.) is used as a pickling medium.
  • Nuka mixed with water salt and aromatics becomes the pickling medium, called nukadoko.
  • The nukadoko is usually kept in a (non-reactive) container, a ‘nuka-pickle-pot’ or nuka-pot and
  • the generic term for vegetables, pickled in nukadoko is nuka zuké.

Nuka zuké ferments vegetables in a couple of hours

Nuka zuké is fairly easy and fast compared to other fermented products, but it needs to be mixed by hand to aerate the nukadoko. Yes, everyday! It only takes a few seconds, but you should be willing to commit to this before you start you own nuka-pot at home. Your reward? Cucumbers turned into crisp, savory pickles over night and tart red radishes get enchanted into exhilarant crudités in a couple of hours.

Nuka zuké: Cucumbers and turnips topped with yukari and shio zuké on the side

Nukodoko thrives off the bacteria that live on your hands and the vegetable’s skin. They also influence the taste as well as the aromatics that you can put in. So each nukadoko has its unique taste that will constantly change. Generally spoken an aged nukadoko will be more round and smooth than a young one, similar to wine, that’s why nukadoko can be passed down the generations.

Nuka zuké contains brown rice nutrients

Nukadoko is made from nuka – rice bran. The vitamin rich outer layers of rice – undoubtedly nutritious and healthy – would create off flavors in sake and are often unwanted for table rice. So one way to get back some of those nutrients that have been milled away is pickling vegetables in nukadoko. Nowadays it is fairly easy to source nuka either in Asian markets or online (e.g. here or here), but you could also substitute nuka with wheat bran. Wheat bran is lighter and more fluffy. When using wheat bran instead of nuka you should use a little more water and make sure that your pack down your ‘wheat bran-doko’ tightly on your vegetables to ensure contact with the bacteria.

Become a tsukémono addict

Ever since that one sunny autumn day in Tokyo when I smelled and tasted nuka zuké for the first time, I am enamored with it. But while a taste of vegetables pickled in nuka can prise the gates to Tsukémono heaven ajar, making it yourself will fling them open and convert you to the delights of preserving the Japanese way.

For those that are interested to learn how to start a nuka-pot and to handle it properly, how to influence its taste and troubleshooting-strategies to avoid it going bad, subscribe to the newsletter to get the information on the next nuka zuké-workshop delivered directly to your inbox.

Tsukemono: Cucumbers pickled with Ginger and Kombu

Today’s recipe is a fast one. And easy. Another example of mottainai – in this case using left over kombu from making dashi. Full-flavored pickled cucumber with an addictive hint of sweetness, illustrating once more that Japanese cuisine per se is neither complicated nor that it needs many ingredients.

Tsukemono ingredients: Pickled cucumbers with kombu and ginger
Tsukemono ingredients: Mirin, soy sauce, rice vinegar, cucumbers cut into 0,5cm rounds, threads of kombu and ginger

The recipe calls for cucumbers that do not have a lot of core, so Lebanese cucumbers are not what you are looking for. Japanese cucumbers are perfect, of course, but even if you don’t have access to real Japanese cucumbers you should be able to find mini-cucumbers in your grocery store, that usually have a better flesh-core ratio.

Recipe for one jar Cucumber-Tsukemono

  • 500g      Cucumbers
  • 2,5 cm   Ginger (peeled)
  • 3-4 pcs. Kombu, left over from making dashi (in threads a small hand full)
  • 180 ml   Soy Sauce
  • 120 ml   Mirin (sweet sake)
  • 60 ml     Rice Vinegar

Method

How to make Tsukemono: Put cucumbers into the cooking liquid

Wash the cucumbers and cut them into 0,5cm rounds. Take the ginger and the kombu and cut them into fine threads. Combine soy sauce, mirin and vinegar in a pot and bring to a boil. Add the cucumbers, ginger and kombu and reboil for a minute. Take the pot off the heat source and let cool (about one hour).

How to make Tsukemono: Stain the cooking liquid if you want to repeat the process
How to make Tsukemono: Strain the cooking liquid before reheating it if you prefer the vegetables to be less crunchy

If you like your pickles to be less crunchy, repeat the process after the pickles have cooled down. In order to do so, strain the liquid and bring to a boil once more. Add the cucumbers, ginger and kombu and reboil for another minute before leaving it to cool again.

Fill pickles with the liquid into a clean glass jar and store in the refrigerator